How to Install a Mechanical Seal in a Centrifugal Pump?
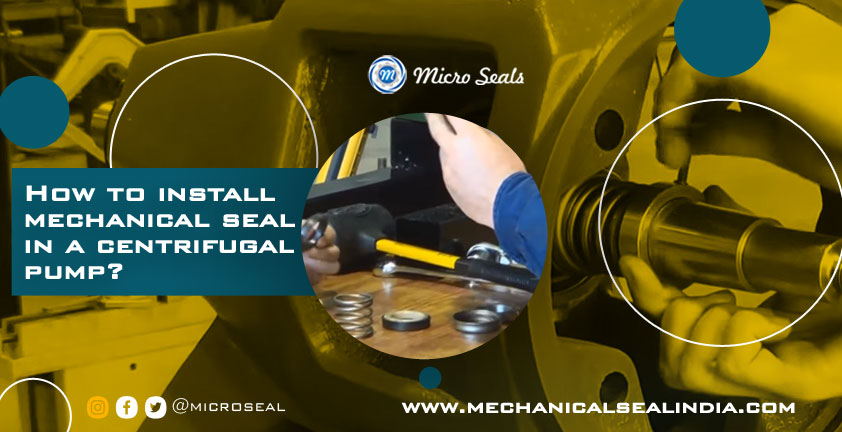
Centrifugal pumps are essential in various industries, and their efficient functioning largely depends on the mechanical seal. A mechanical seal ensures leak-free operation, which is crucial for safety, efficiency, and reliability. Correct installation of the mechanical seal is critical for its performance and durability. Here’s a detailed guide on how to install a mechanical seal in a centrifugal pump.
Table of Content
- Step 1: Prepare Your Tools and Materials
- Step 2: Shut Down and Disassemble the Pump
- Step 3: Clean and Inspect Components
- Step 4: Install the Stationary Seal Face
- Step 5: Install the Rotating Seal Face
- Step 6: Secure the Seal and Reassemble the Pump
- Step 7: Test the Pump
- Tips for Successful Installation
- Conclusion
Step 1: Prepare Your Tools and Materials
Before starting the installation process, gather the following items:
- A compatible mechanical seal kit
- A set of wrenches and screwdrivers
- Cleaning tools like lint-free cloths
- A seal-friendly lubricant
- Safety equipment (gloves, goggles, etc.)
Proper preparation minimizes errors and makes the installation smoother.
Step 2: Shut Down and Disassemble the Pump
- Power Off the Pump: Disconnect the pump from its power source to ensure safety.
- Drain the Pump: Empty all fluids from the pump to prevent leaks during disassembly.
- Access the Shaft: Open the pump casing to expose the rotating shaft where the seal will be installed.
Step 3: Clean and Inspect Components
A clean and defect-free surface is essential for proper seal performance.
- Clean the Shaft: Use a lint-free cloth to remove any debris, grease, or residue.
- Inspect the Shaft: Check for scratches, corrosion, or uneven surfaces that might compromise the seal’s effectiveness.
- Inspect the Seal Kit: Verify that the new mechanical seal is undamaged and matches your pump’s specifications.
Step 4: Install the Stationary Seal Face
- Carefully position the stationary seal face in the housing.
- Ensure that it is aligned correctly without any tilt or misplacement.
- Avoid touching the seal face directly with your hands to prevent contamination.
Step 5: Install the Rotating Seal Face
- Apply a small amount of lubricant to the shaft for easy installation.
- Slide the rotating part of the seal onto the shaft gently.
- Align it carefully, ensuring it sits flush against the stationary seal face.
Step 6: Secure the Seal and Reassemble the Pump
- Tighten the gland plate or seal housing bolts evenly to ensure proper alignment.
- Reassemble the pump casing and check all connections.
- Verify that all parts are secured properly to avoid vibrations or misalignments during operation.
Step 7: Test the Pump
- Reconnect the pump to the power source and start it gradually.
- Observe for leaks, unusual noises, or vibrations.
- If any issues arise, turn off the pump and recheck the seal installation.
Tips for Successful Installation
- Always follow the manufacturer’s guidelines for your specific seal type.
- Keep the seal components clean and avoid contact with oily or dirty surfaces.
- Regularly inspect the pump after installation to ensure long-term performance.
Conclusion
Installing a mechanical seal in a centrifugal pump may seem technical, but following this step-by-step process simplifies the task. Proper installation not only ensures leak-free operation but also extends the life of your pump and seal. Always prioritize cleanliness and precision during the process to achieve optimal results.
To Know More about mechanical seal supplier Read Our Blog Post on top mechanical seal supplier For More mechanical seal services Information, Check out our Mechanical Seals Repair Page.
Microseals Is ISO 9001:2015 Certified Company and Leading Mechanical Seals Manufacturer & Supplier In India, Providing Leakages Solutions To All Types Of Pump Applications By Manufacturing Mechanical Seals And Sealing Components As Per Customer’s Require, Samples or Need. To Know More About Mechanical Seal Call On +91 – 9029035767 Or Email At [email protected]

